




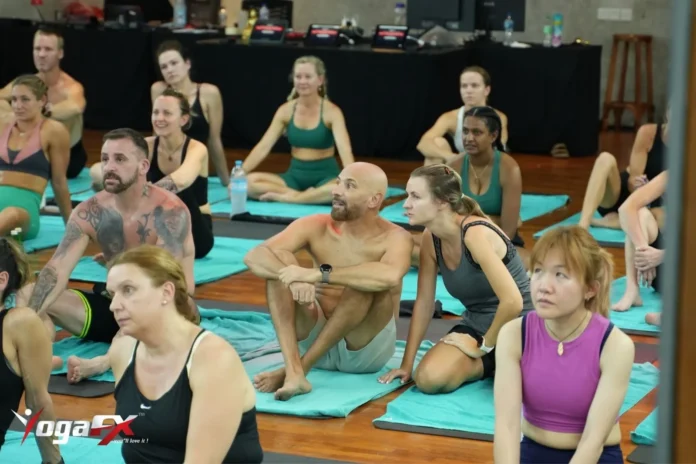
Pranayama breathing in the 26&2 means two exercises: Standing Deep Breathing at the start of class and Kapalbhati in Firm Pose at the end. Both run through the nose, and both give a teacher a calm tool for a 40 degree room. Here is how each one works, how we teach it, and where trainees slip.
At YogaFX, led by Mr. Ian Terry (Founder and Lead Instructor, E-RYT 500, 12,000+ teaching hours), we treat the breath as the part of class that lets a student stay in the room. The postures get the attention, but the breath does the quiet work. If you plan to teach the 26&2, you need to teach this part well.
The Two Pranayama Breathing Exercises in the 26&2
The method is called 26&2 because a class holds 26 postures and 2 breathing exercises. The word pranayama comes from Sanskrit and refers to breath control. In our class it is not a side note. It opens the practice and it closes the practice.
The first exercise, Standing Deep Breathing, is a slow pranayama breathing technique done on your feet. The second, Kapalbhati, is a short pranayama breathing exercise done kneeling in Firm Pose. They look nothing alike, yet they do the same job from opposite ends of a 90-minute class.
- Standing Deep Breathing sets the pace. It slows the breath before the heat starts to build.
- Kapalbhati clears and resets. It closes the class with sharp, controlled exhales.
- Nose only. Unless the dialogue says otherwise, the mouth stays closed in both.
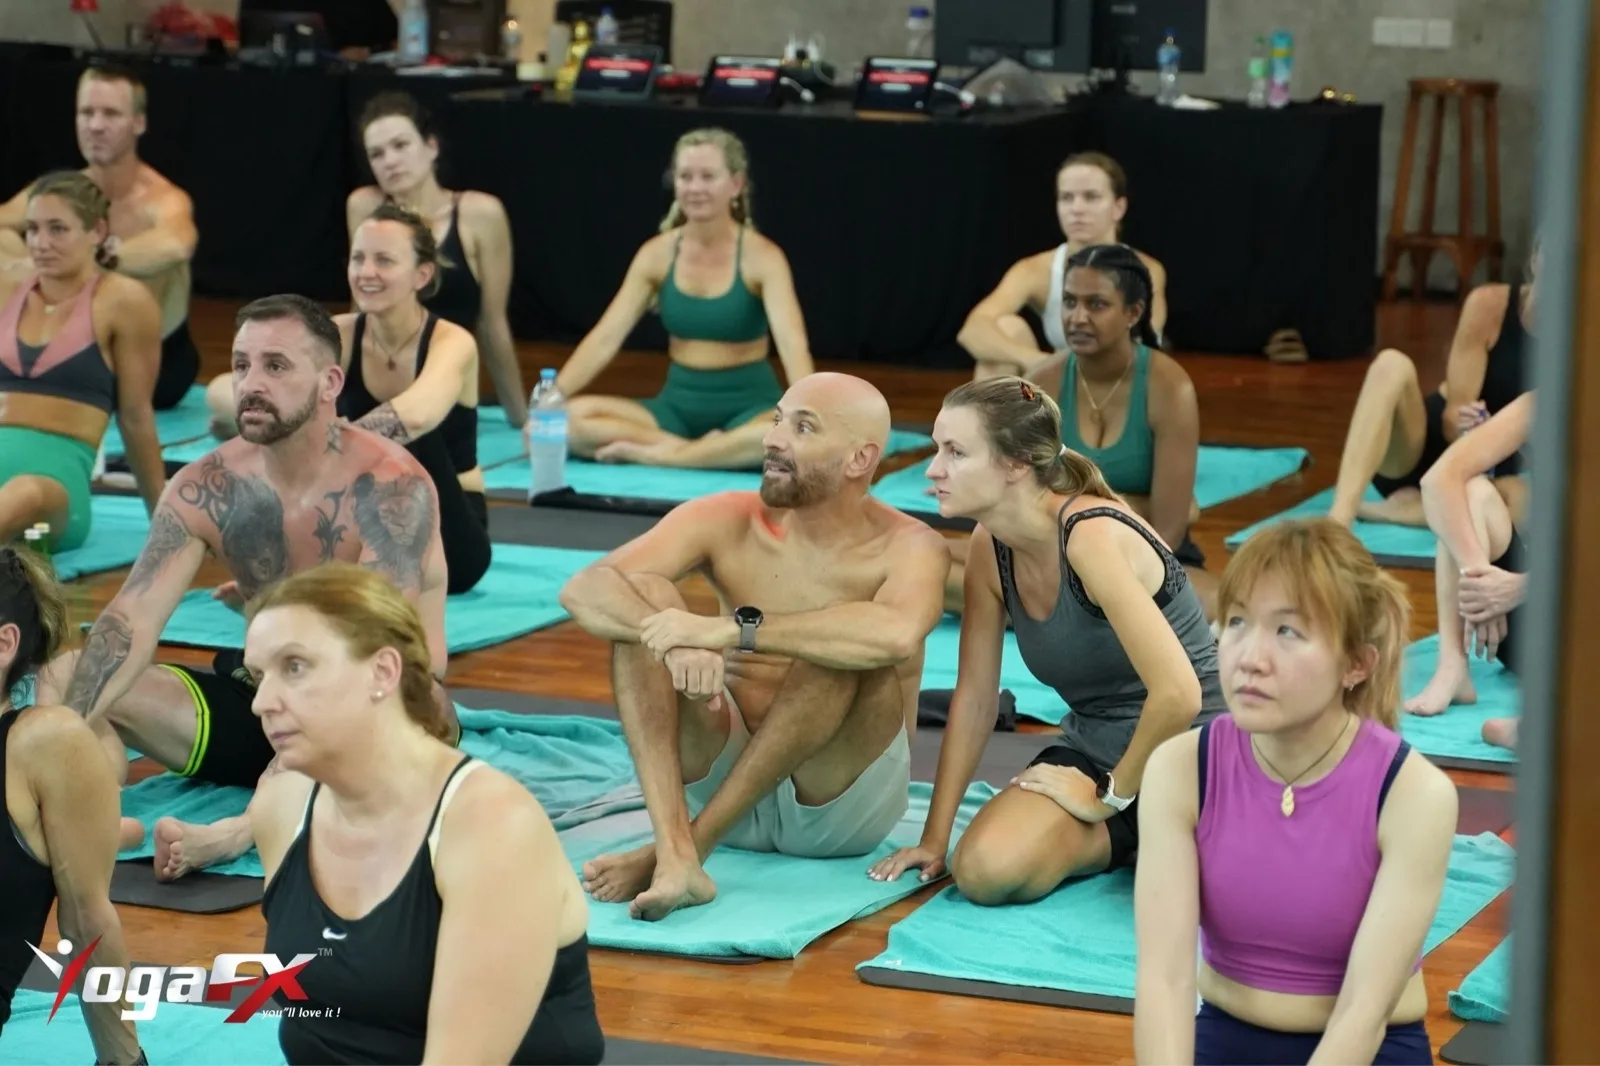
Our class runs 90 minutes at about 40 degrees C and 40% humidity, with a scripted dialogue, no demonstration and no music. Because the teacher guides by voice alone, the breathing cues have to be exact. A vague cue is easy to miss when a room is hot and a student is tired.
Standing Deep Breathing: How to Teach It
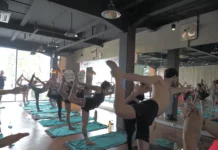
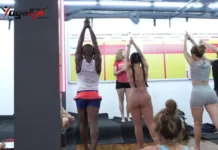
This is the first thing a student does after the room settles. They stand tall, feet together, and begin a slow breath in through the nose. The arms and head move with the breath, so the exercise also opens the chest and warms the shoulders.
It sounds easy, doesn’t it? It’s the exercise trainees most often rush, because the room is already warm and the posture list is long. A slow pace is the whole point, so we train teachers to protect it.
Cues that work
- Breathe low first. Ask students to feel the belly and ribs widen before the chest lifts.
- Keep the shoulders soft. Shrugging on the inhale is the most common error.
- Match the exhale. A long exhale through the nose should feel as smooth as the inhale.
- Close the mouth. If a student gasps through the mouth, the pace is too fast.
Notice how a good teacher paces the room with the voice. Short, even instructions work better than a long explanation. We practise this in teaching rounds until the delivery sounds natural, not recited.
Kapalbhati in Firm Pose: How to Teach It
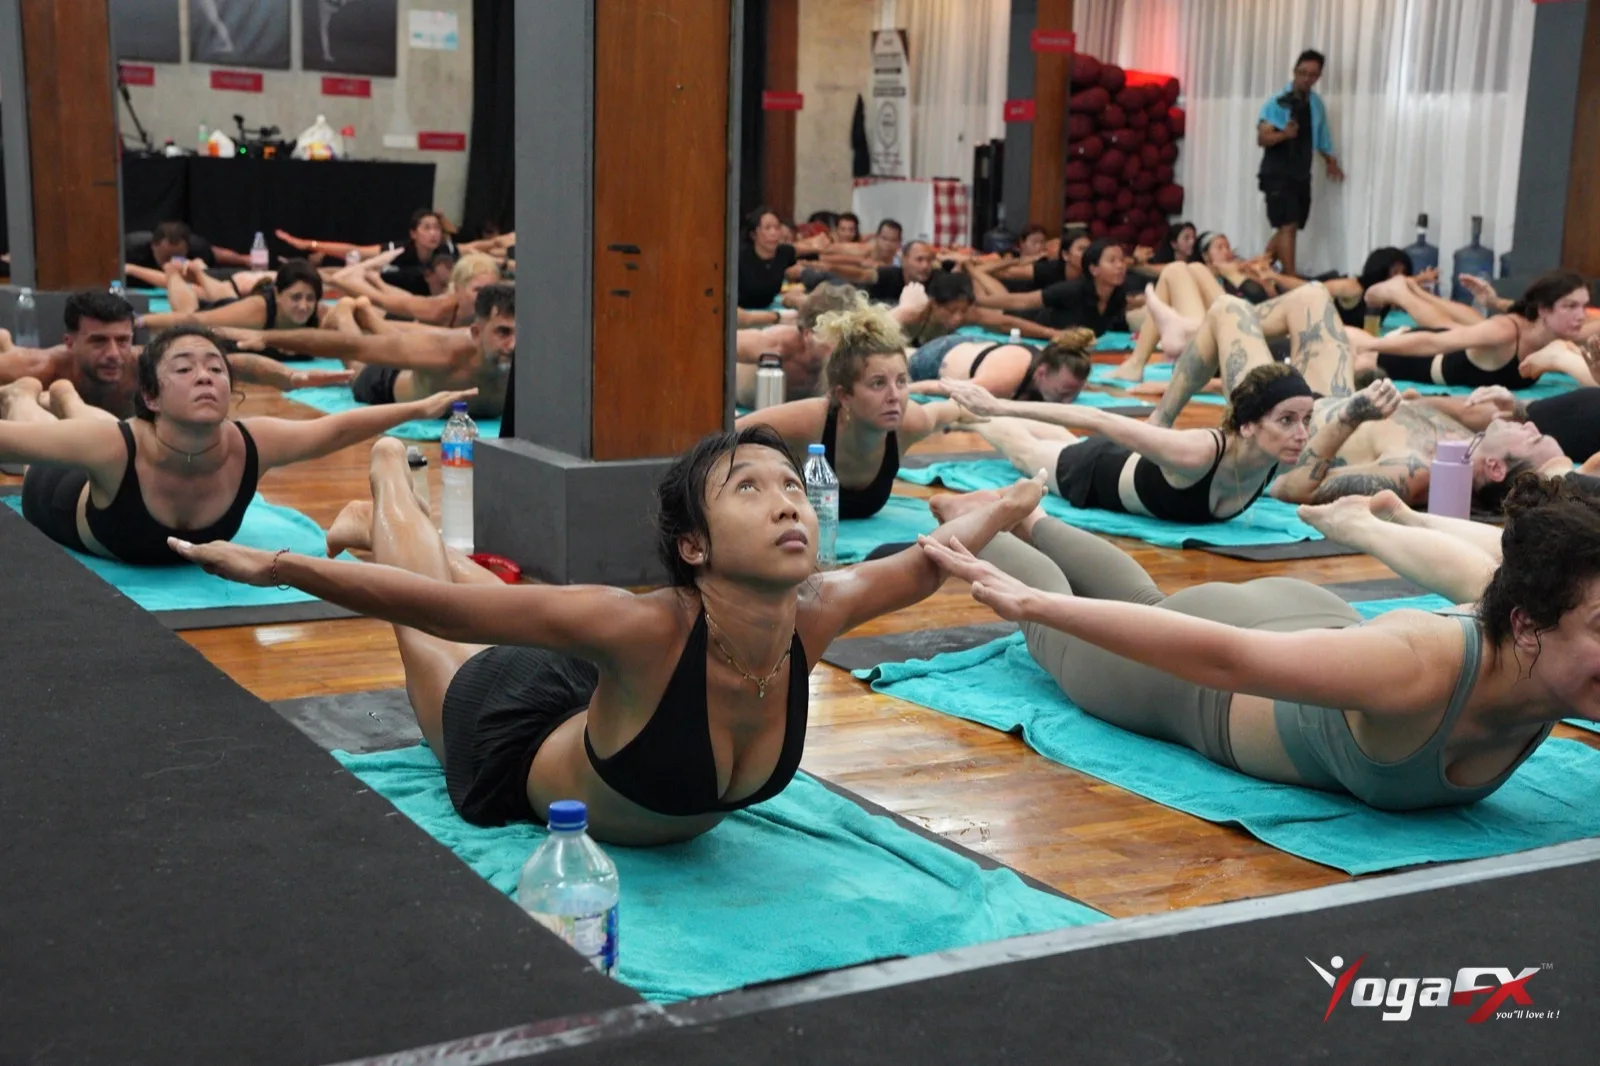
Kapalbhati closes the class. Students sit on their heels in Firm Pose and drive the air out through the nose in short, sharp pulses. The inhale between pulses is passive: the belly releases and the air returns on its own.
Because the action comes from the lower belly, the exercise feels very different from the slow breathing at the start. That contrast is useful. After 90 minutes of effort, it wakes the body once more, then leaves it ready for rest.
Where trainees slip
- Pumping the chest. The work belongs in the lower belly, not the shoulders.
- Going too fast. Speed without control leads to dizziness. A steady rhythm beats a fast one.
- Forcing the inhale. The inhale should be quiet and automatic.
- Ignoring signals. A student who feels light-headed should pause and breathe normally.
Teachers should say plainly that rest is always allowed. A student who stops to breathe normally has not failed. They are listening to their body, which is exactly what we want them to learn in the heat.
Side by Side: The Two Exercises Compared
A short comparison helps trainees keep the two pranayama breathing exercises straight. Use it as a quick reference when you plan your first teaching rounds.
| Feature | Standing Deep Breathing | Kapalbhati in Firm Pose |
|---|---|---|
| Place in class | Opens the class | Closes the class |
| Body position | Standing, feet together | Sitting on the heels |
| Breath pattern | Slow, full inhale and exhale through the nose | Short, sharp exhales through the nose, passive inhale |
| Main purpose | Slow the breath before the heat builds | Reset the body at the end of effort |
| Typical error | Shrugging the shoulders, rushing | Pumping the chest, going too fast |
| Best teaching cue | “Slow it down and breathe low” | “Belly drives it, inhale is quiet” |
Why Nasal Breathing Works Like an Inner Thermostat
In our teaching notes the breath is described as an inner thermostat. When heat lifts the heart rate, breathing through the mouth can tip a student into a fight-or-flight response. Slow breathing through the nose pulls the other way, calming the heart and steadying blood pressure.
That is the idea behind every instruction to keep the mouth closed. It isn’t a rule for its own sake. It’s a way to keep a student calm enough to stay present while the room works on them.
We see this in practice every training week. The student who breathes steadily in the first posture is usually the student who is still smiling in the last. Pranayama breathing does not remove the challenge, but it does change how a person meets it.
This links closely to stillness and focus, which we cover in our guide to hot yoga etiquette. It also connects to what happens after the last posture, which we explain in Savasana benefits.
How to Practise Pranayama Breathing Before You Train
You don’t need a hot room to start learning the pattern. A few quiet minutes at home are enough to build the habit. Treat this as practice for your ear and your body, not as a replacement for a qualified teacher.
- Find a calm space. Stand tall with your feet together and your shoulders relaxed.
- Breathe in slowly through the nose. Feel the belly and ribs widen before the chest lifts.
- Breathe out slowly through the nose. Make the exhale as smooth as the inhale.
- Repeat for a few minutes. Stop at once if you feel dizzy, and sit or lie down.
- Say the cues out loud. Teachers learn faster when they hear their own voice give the instruction.
Later, when you learn Kapalbhati, do it with a teacher. The short exhales are easy to rush, and a good teacher will spot the chest pumping or the extra speed before it becomes a habit.
Why teachers need the reason, not only the script
The dialogue tells you what to say. It doesn’t tell a nervous student why the mouth should stay closed. When you understand the purpose, you can answer a question in one sentence and move on.
For example, a student may ask why the breathing is slow while the heart is racing. A confident teacher can answer that slow nasal breathing helps settle the heart rate, then guide the student back to the next instruction. That kind of calm answer builds trust faster than any speech.
How this differs from other breathing styles
Many students arrive having tried other breathing methods, such as box breathing or alternate nostril breathing. Those are valid practices, but they are not part of the 26&2 sequence. In our class the two exercises are fixed, and the teacher does not add new ones mid-class.
That fixed structure is a strength. Students know what is coming, so they can relax into it. Repetition also makes the breathing easier to teach, because every class follows the same order and the same language.
What Research Says About Slow Breathing
Research on slow breathing is encouraging, though it is not specific to the 26&2. A 2018 systematic review in Frontiers in Human Neuroscience (Zaccaro et al.) screened 2,461 abstracts and included 15 articles. It reported that slow breathing techniques promote autonomic changes, with increases in heart rate variability, and that they were linked to reduced symptoms of arousal and anxiety.
Medical sources describe a similar picture for belly breathing. The Cleveland Clinic explains that diaphragmatic breathing may help lower heart rate and blood pressure and improve relaxation. It adds that the technique should not be the only treatment for any condition and suggests talking to a provider if you have asthma, COPD or anxiety.
Heated yoga has its own evidence base. A randomised trial from Massachusetts General Hospital found that 59.3% of heated yoga participants responded in an 8-week depression trial, against 6.3% of a waitlist group (Nyer et al., 2023). That study tested a whole practice, not the breathing alone, so we do not claim the breath did the work.
What we can say is modest and honest. Slow, controlled breathing may help people settle their body and mind, and a hot room is a place where that skill is useful. Anyone with a medical condition should check with a healthcare professional before starting.
What Trainees Say About the Experience
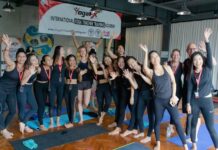
Teachers learn pranayama breathing by feeling it first, so the experience matters. Here is how two graduates described finishing their training with us.
“I feel so full of joy and happiness.”
Barbara, YouTube graduation video, 2024
“I just want to say that today is amazing.”
Nyoman, YouTube graduation video, 2024 (translated)
You can watch Barbara’s full graduation video below. It is a real student from a real training week, which is the best way to judge what the experience feels like.
How YogaFX Trains Teachers to Teach Pranayama Breathing
Mr. Ian Terry spent five years, 2014 to 2019, training with the founder of the Bikram Hot 26&2 method. He is also a Master Trainer with the Republic of Indonesia Yogasana Sports Federation. That lineage is why we teach the breathing exercises exactly as the dialogue sets them out.
In our hybrid teacher training, you study the theory online first. Then you join the six-day intensive in Bali, where the dialogue, the postures and the breathing are drilled in the room. The next MasterClass runs from check-in on Sunday 24 January 2027 to check-out on Friday 29 January 2027.
- Pre-course online. You learn the order, the language and the purpose of each exercise before you arrive.
- Practice in the heat. You feel both breathing exercises in a real class, not only on paper.
- Teaching rounds. You deliver the breathing cues to fellow trainees and get direct feedback.
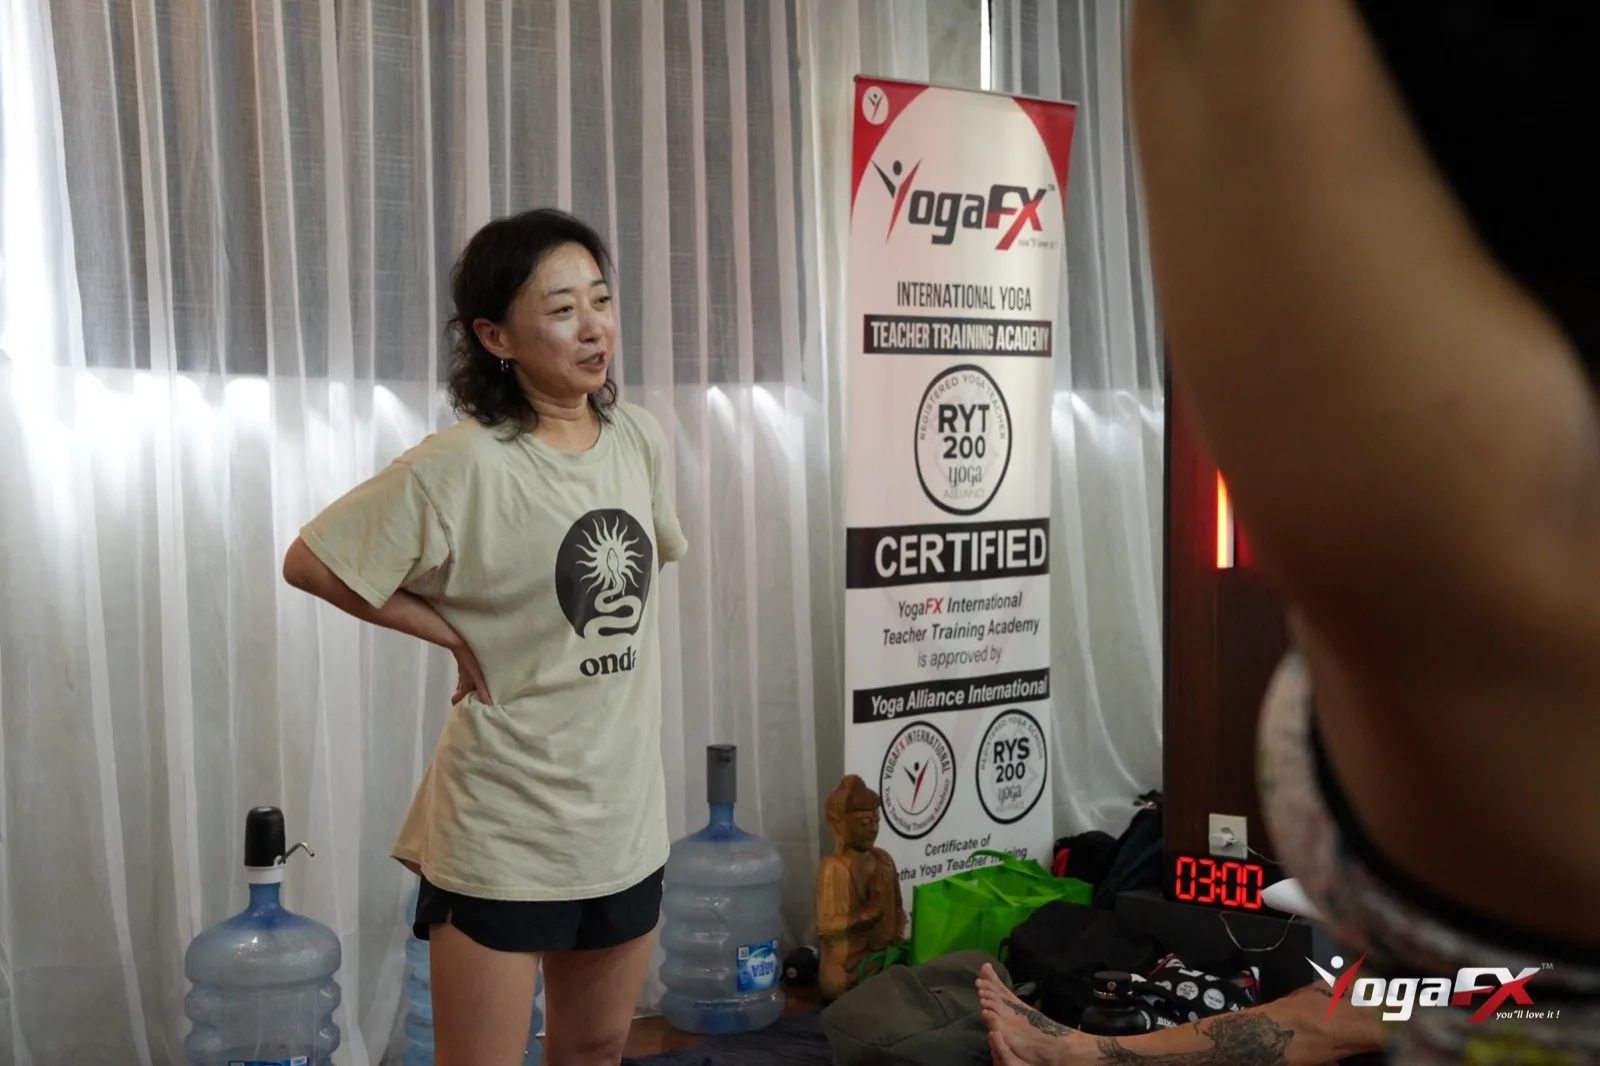
- Dual certification. You finish with the Yoga Alliance RYT 200 and the Bikram Hot 26&2 200-Hour certificate.
If you want the full picture of the method first, read our definitive guide to the 26&2. When you are ready to look at the training itself, start with original hot yoga teacher training at YogaFX.
What changes over a training week
Most trainees notice the shift by the middle of the week. At first the breath feels like a chore squeezed between postures. By the end, it has become the part they reach for when a posture gets hard.
That is the real lesson for a new teacher. Students won’t remember every cue you give, but they will remember whether you helped them stay calm. Teaching pranayama breathing well is one of the clearest ways to do that.
If you are weighing up a teacher training, ask each school how it teaches the breath. A school that spends real time on pranayama breathing is usually a school that cares about student safety. Ask to see how trainees practise the cues, and ask who gives the feedback.
Safety Notes for Teachers and Students
Pranayama breathing is gentle when it is taught well, yet the room is hot and bodies differ. Teachers carry a duty to keep the class safe. These habits matter most:
- Allow rest at any time. Make it clear that sitting out an exercise is fine.
- Watch for dizziness. If a student feels light-headed, they should return to calm nasal breathing and lie down if needed.
- Slow the pace. Speed is never the goal, especially in Kapalbhati.
- Know your limits. Students who are pregnant or who have heart, blood pressure or lung conditions should speak to a doctor first.
This article is general education and not medical advice. Please consult a healthcare professional about your own health before you begin or change a breathing or hot yoga routine.
FAQ
What is pranayama breathing?
Pranayama breathing is the practice of controlling the breath. In the 26&2 class it means two exercises: Standing Deep Breathing at the start and Kapalbhati in Firm Pose at the end. Both are done through the nose, with the teacher guiding each step by voice.
How do you do pranayama breathing in a hot yoga class?
Stand tall and breathe slowly in and out through the nose, letting the belly and ribs widen first. At the end of class, sit on your heels and push short, sharp exhales out through the nose. Let the inhale return on its own, and rest whenever you need.
Should pranayama breathing be done through the nose or mouth?
In the 26&2 class the nose is the default for both exercises. Breathing through the nose keeps the pace slow and steady, which suits a hot room. A student who feels dizzy should stop, breathe calmly through the nose, and lie down if needed.
Can pranayama breathing help with stress?
Research suggests slow breathing may help the body settle. A 2018 systematic review linked slow breathing techniques with higher heart rate variability and reduced arousal and anxiety. The evidence is not specific to hot yoga, so it should not replace medical care for anxiety or other conditions.
Is Kapalbhati safe for beginners?
Kapalbhati is usually taught slowly to beginners, with plenty of rest. The sharp exhales can cause light-headedness if rushed. People who are pregnant or who have heart, blood pressure or lung conditions should check with a doctor before trying it.
Still have questions? Message Mr. Ian and the YogaFX team on WhatsApp and we will answer them personally.