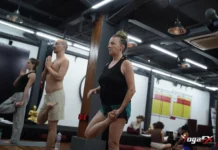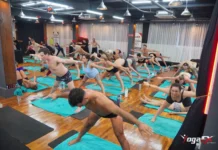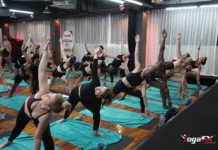



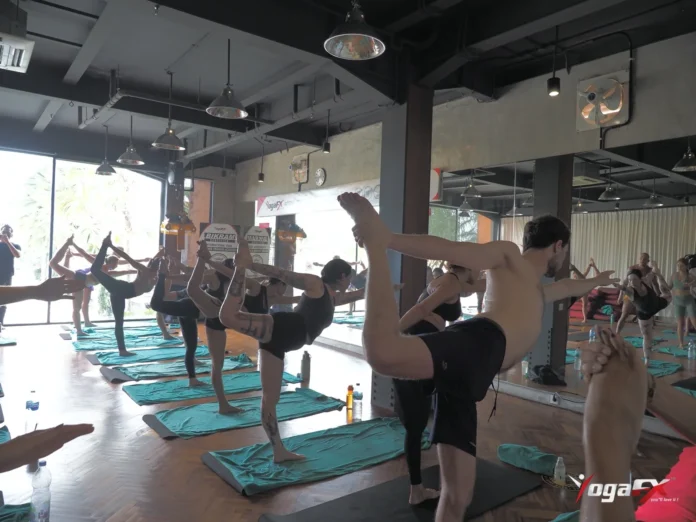
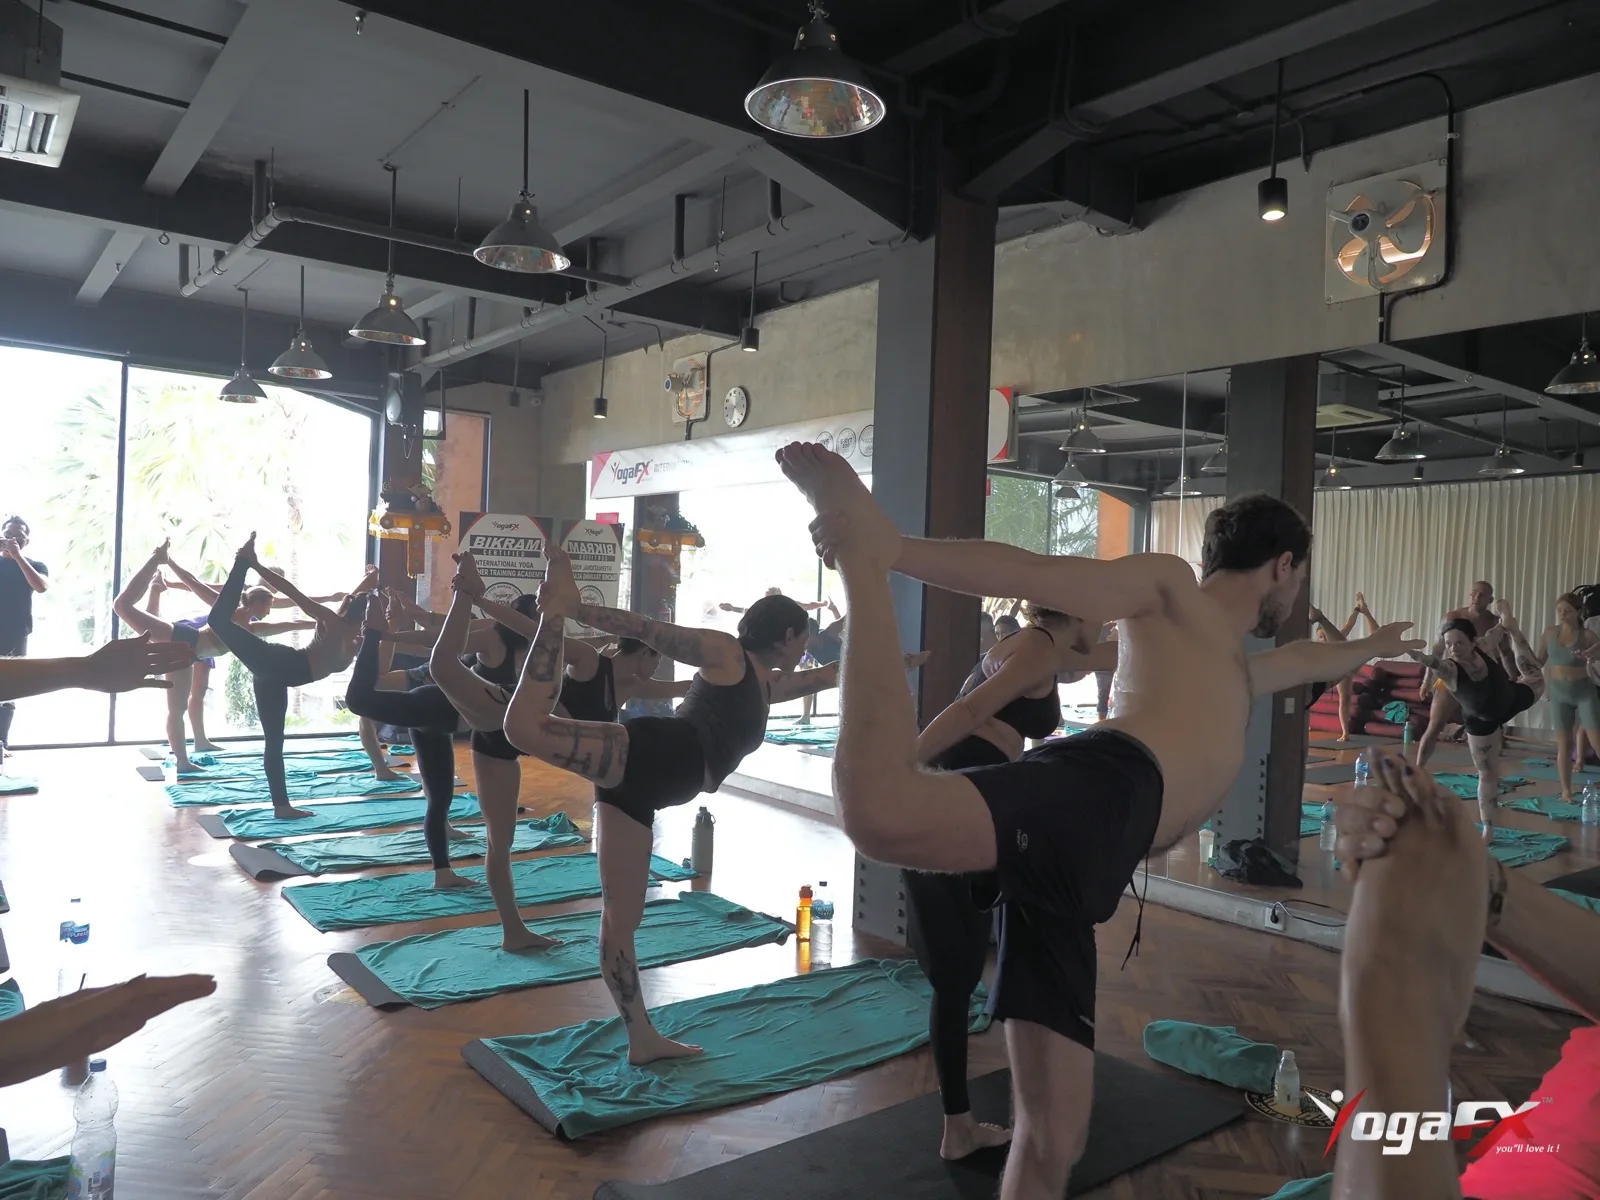
The balancing stick pose, Tuladandasana, is the Hot 26&2 posture where you stand on one leg, reach both arms forward and lower your body into a level T-shape. Its hard part for a teacher is that the student cannot see the back leg, so YogaFX trainees learn to coach it with words alone.
Most students meet this posture and feel the same thing: the pose is over before they know whether it was any good. The standing ankle shakes, the hips drift, and the back leg is somewhere behind them where the mirror cannot help. That is exactly why it makes such a good teaching lesson.
This page is for the trainee or future teacher. It covers how the balancing stick pose is built, what research says about one-leg balance, and the spoken cues we practise in Bali. If you only want a student walkthrough with steps and common mistakes, the plain-language Tuladandasana guide on 26and2yoga.com covers that side.
Balancing Stick Pose in the Hot 26&2: The Teaching Short Answer
Here is the order our trainees memorise. It never changes, because a fixed order is easy to recall when you are hot, tired and standing in front of a full room.
- Root. Stand tall on one leg, lock the knee and spread the whole foot on the floor.
- Reach. Lift both arms, hands together, and keep them beside the ears.
- Hinge. Tip forward from the hip as one piece, not from the waist.
- Line. Kick the back leg straight behind you until arms, torso and leg make one level line.
- Return. Come up slowly, reset, then repeat on the other side.
Because the posture is quick, almost every fault starts in the first beat. A soft standing knee or a gripping toe turns the whole line into a wobble. So we teach the root before anything else, and we repeat it until it is automatic.
The balancing stick pose sits in the standing series, right after Standing Bow Pulling Pose. Our full guide to the 26 postures shows where it falls in the class, and our 26 and 2 yoga poses overview lists every posture in order.
Why Balancing Stick Pose Is the Hardest Posture to Teach by Eye
Most postures give a teacher something to look at and a student something to check. The balancing stick pose takes both away. When the chest drops parallel to the floor and the arms reach forward, the kicking leg and the extended arms leave the student’s field of vision.
That means the student cannot look back to see whether the leg is too low or the hips are tilting open. Instead, they have to feel a straight line from the fingertips to the toes. In the Mr. Ian Terry teaching framework, this is a high-speed test of horizontal spatial awareness, because the body moves from a vertical plane to a horizontal plane in a few seconds.
Proprioception does the work the mirror cannot
Proprioception is the sense of where your body is without looking. It relies on receptors in muscles, tendons and joints that report position and effort to the brain. In this posture, the receptors in the standing ankle and foot make quick corrections to manage the long lever of the arms and the back leg.
We go deeper on this in our guide to proprioception exercises in the 26&2. Here, the teaching point is simpler: if the student cannot see the problem, the teacher’s words become the mirror.
What that means for a teacher
- Describe the feeling, not the picture. “Press the whole foot down” works. “Look more elegant” does not.
- Name one thing. A student who is shaking on one leg can act on one cue, not four.
- Use touch with care. Where touch is part of the training, it supports the words and never replaces them.
What Research Says About One-Leg Balance and Hip Stability
We don’t claim that balancing stick pose treats any condition. We use outside research to explain why the cues we teach make sense. The sources below come from medical and university sites, not from yoga websites, and we opened each one to check that it says what we describe.
Single-leg balance is a recognised exercise
Mayo Clinic lists balancing on one leg among its basic balance exercises. Its page says to hold the position as long as you can keep good form, up to 30 seconds. It also says older adults especially need balance exercises to help prevent falls, and that the risk of falling goes up after age 65 (Mayo Clinic balance exercises).
The balancing stick pose is a harder cousin of that exercise. It adds a forward lean, a long back leg and a hot room. So the same rule applies to balancing stick pose: keep good form first, and add difficulty slowly.
The hips keep the pelvis level
A 2025 study in PLOS One notes that single-leg stance requires pelvic stability, largely supported by the hip abductors (Rodrigues et al., PLOS One 2025). That study measured 36 adults who did resistance training, so it describes muscle activation, not yoga results.
An earlier paper from Poland studied 51 healthy women aged 18 to 25 and concluded that physiological activation of the hip abductors may be important for maintaining postural balance (Bugalska et al., Acta of Bioengineering and Biomechanics, 2022). The authors call for larger randomised studies, so we treat it as a useful hint.
For a teacher, the practical link is the cue “hip bones are headlights, aim them at the floor”. The research does not test that cue. It does support the idea that the hips are doing important work when you stand on one leg.
The Four Beats Behind a Steady Balancing Stick Pose
We call the first four beats root, reach, hinge and line. Each one sets up the next. If the line collapses, the cause is usually one beat earlier, so a teacher learns to trace a fault backwards.
Beat 1: Root the standing leg
The standing leg is a post. A locked knee makes it firm, while a soft knee asks the small muscles around the ankle to work much harder. In a hot room those muscles tire quickly, so the wobble grows with every second.
Cue the whole foot, not just the toes. Spread the ball of the foot and the heel evenly. Because sweat makes skin slippery, an active, wide foot gives you more grip on the towel or mat.
Beat 2: Reach and pick a point
The arms go up beside the ears with the hands together. Many students let the elbows drift apart as soon as they get tired. Keep the arms long and the shoulders away from the ears, so the upper body stays light.
Then give the eyes one job. In the standing series, the mirror is a fixed visual reference, so pick one spot and keep your gaze there. Soft eyes that stay put beat hard eyes that dart.
Beat 3: Hinge from the hip
The hinge is where most students round the back. They fold at the waist, drop the chest and lose the line. Instead, think of a heavy door swinging on its hinge: the whole door moves as one piece, and so does the whole upper body.
Beat 4: Kick the line long
Now the leg kicks straight behind you. Push the foot back, not up. A leg that lifts higher than the torso can follow only pulls the hips open. So aim for one level line, and accept a lower leg on days when the hamstrings are tight.
Balancing Stick Pose Faults, What the Student Feels, and the Spoken Cue
Every teacher sees the same handful of faults. The table pairs each one with what the student usually feels, which is the part a teacher cannot see, and a short cue that can be said in one breath.
| What the teacher sees | What the student feels | Spoken cue | Easier option |
|---|---|---|---|
| Back rounds, chest drops | A pull across the lower back | “Swing like a door, not a folding chair.” | Keep the torso higher |
| Back leg higher than the chest | Pinching low in the spine | “Send the heel to the back wall.” | Leg lower, chest level |
| Back hip rolls open | Standing hip feels loose | “Hip bones are headlights. Aim them at the floor.” | Point the toes down |
| Standing knee shakes or sinks | Ankle burning, toes gripping | “Press the whole foot down.” | Slightly soft knee |
| Elbows drift apart | Shoulders tiring, jaw tight | “Arms long, hands together.” | Shorter hold |
| Eyes dart around the room | Dizzy, off balance | “One point. Stay there.” | Fingertips near a wall |
Notice that the cues are about feeling, not appearance. “Press the whole foot down” is something a shaking student can do right now. “Try to be more stable” isn’t. The easier option column matters too, because good balancing stick pose teaching always offers a way down.
Also notice how few words each cue uses. In a hot room, attention is already stretched, so short cues work best. A trainee who says one clear sentence and then waits to see the change usually helps more than one who keeps talking.
How Trainees Practise Coaching a Posture the Student Cannot See
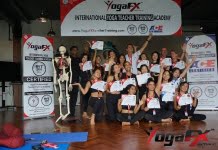
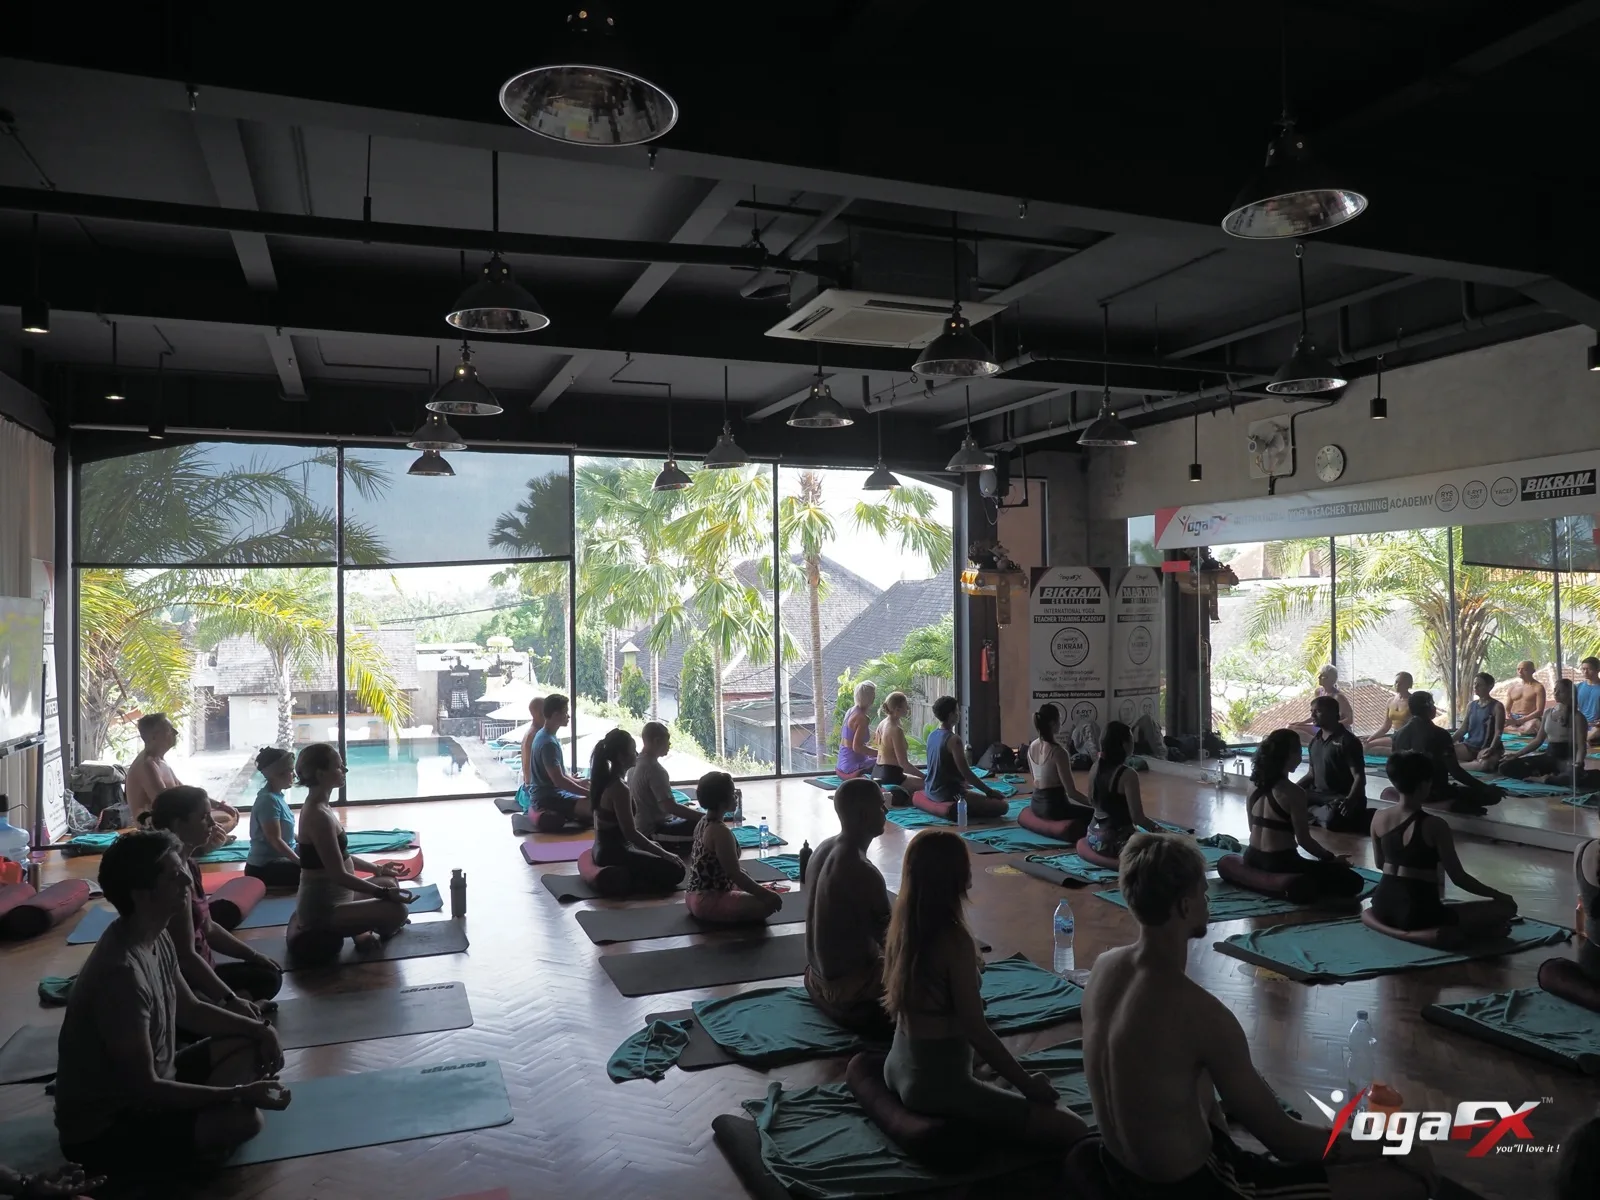
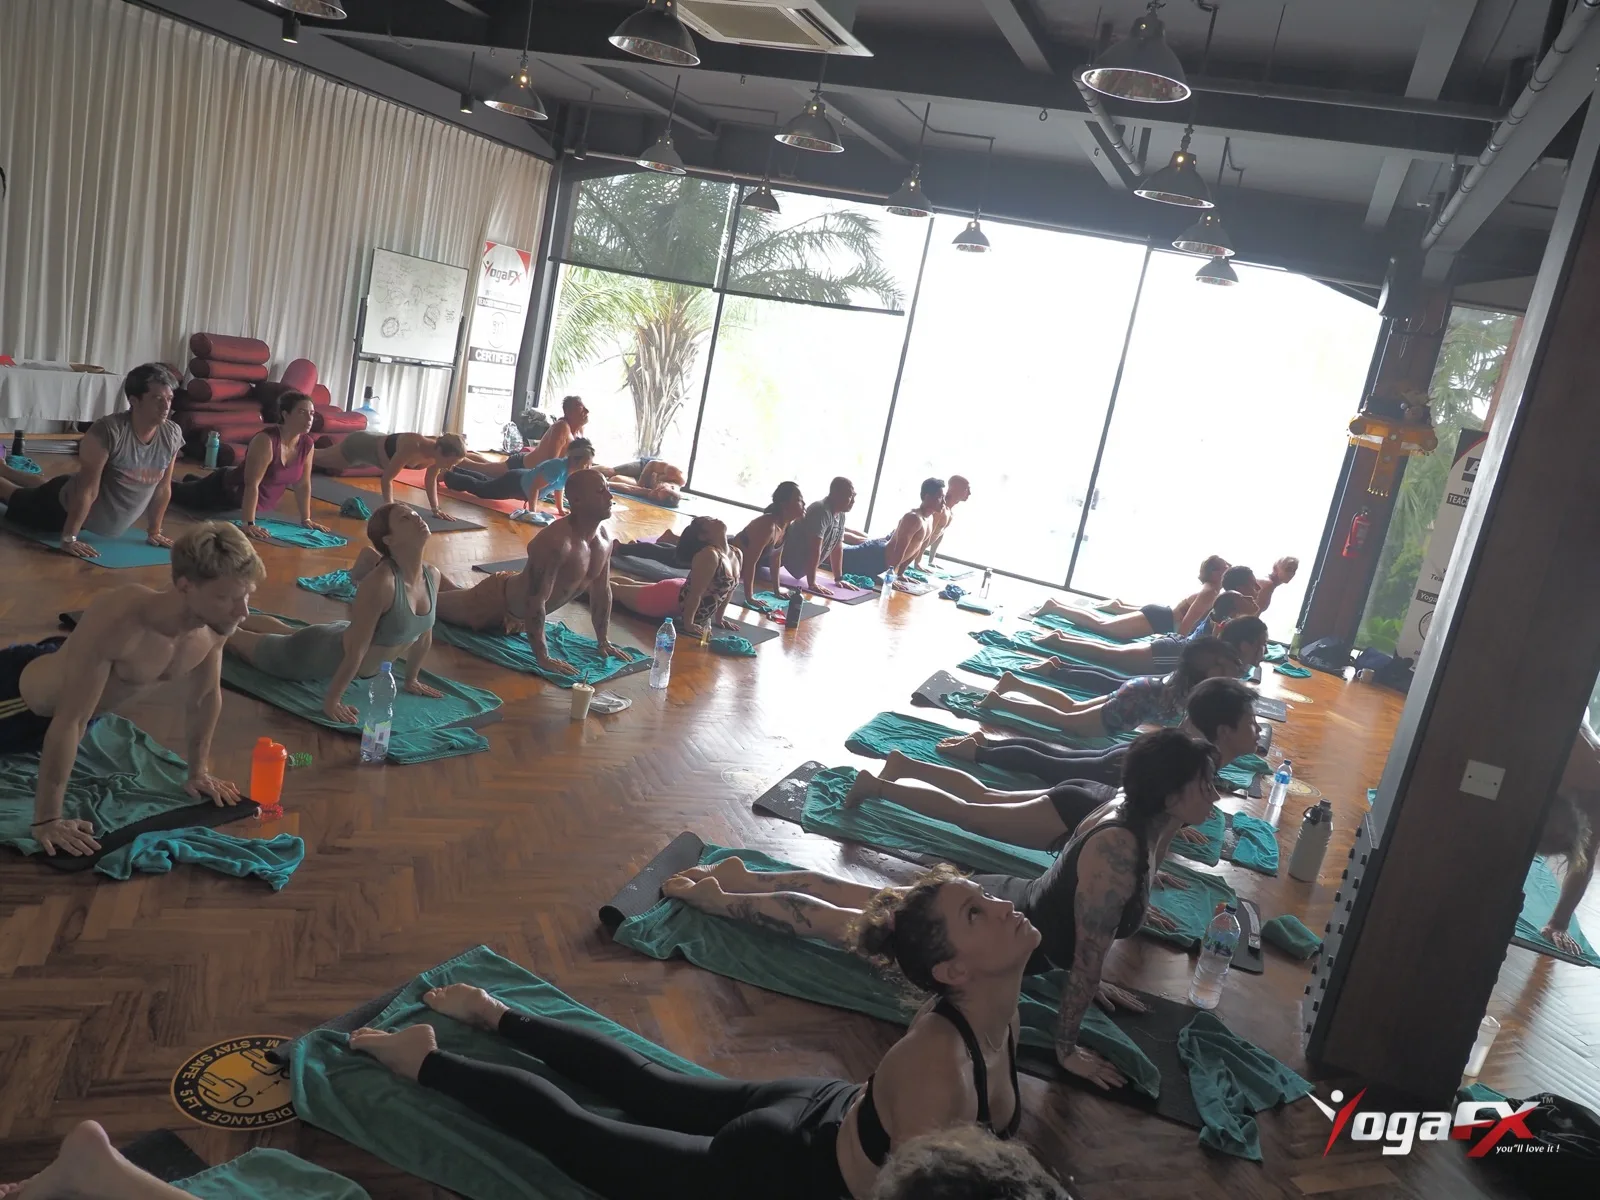
Knowing the pose and teaching it are different skills. In our 6-day hybrid format, trainees work through the same 26 postures and 2 breathing exercises every day. They coach each other out loud in posture clinics and receive live feedback from Mr. Ian Terry, our Founder and Lead Instructor (E-RYT 500, with more than 12,000 teaching hours).
Repeating the same posture in the same order is what makes this possible. The sequence runs on a fixed spoken script, so trainees learn to turn a verbal command into a precise muscle action, such as locking a knee or lengthening the spine, without looking around the room.
A simple drill for the unseen leg
- Watch quietly. One person holds the pose while the observer watches for a few breaths.
- Find the biggest fault. Pick one item from the table, not all of them.
- Say one cue. Use a feeling the student can act on, not a picture they cannot see.
- Wait and check. Watch whether the cue changed the line before saying anything else.
- Swap roles. Being coached is how trainees learn which words help.
The drill sounds small, yet it changes how trainees listen. They stop thinking about how balancing stick pose looks and start asking what the student feels. That’s the real skill behind a good cue, and it doesn’t come from a video.
What trainees say about the teaching
Clear instructions come up again and again when students describe their time with us. Tuti wrote in a Google review: “He gave a clear instructions and make sure that we do the pose correctly.” (Tuti, Google review, 2020).
Carol, who filmed a video review after her course, thanked Mr. Ian Terry and said: “I think the universe sent you to me.” (Carol, YouTube review, 2025, video below).
Where Balancing Stick Pose Sits in the Class and Why Heat Matters
The balancing stick pose comes after Standing Bow Pulling Pose, so your legs are warm and your attention has already worked hard. If you want the earlier posture first, read our guide to the standing bow pulling pose.
Heat changes what balancing stick pose asks of you. A warm hamstring lengthens more easily, but a tired standing ankle wobbles sooner. A fixed 90-minute class at about 40°C with natural tropical heat means you meet this posture while your body is already working.
A short, concentrated effort
In the Mr. Ian Terry framework, balancing stick pose is described as a short, concentrated whole-body effort, and one of the postures that may create brief higher-intensity peaks. The word “may” matters. The zone a person reaches depends on age, fitness, heat acclimation and maximum heart rate, and a heart rate monitor is the only way to know.
For a teacher, the lesson is pacing. A student may feel out of breath after a posture that looks calm from the back of the room. So allow a moment to recover before the next set, and remind students that breathing slowly through the nose helps.
Making Balancing Stick Pose Safer: Variations and When to Stop
Good teaching offers choices. A student on day one should never feel that a lower leg is a failure. It is the safe version of the same lesson, and it builds the same base.
- Leg lower, chest higher. Shorten the lever so the standing leg can stay steady.
- Slightly soft standing knee. A sensible choice if a fully straight knee pulls behind the joint.
- Fingertips near a wall. Mayo Clinic suggests using support when balance is hard.
- Shorter hold. Mayo says to hold only as long as you keep good form.
- Rest between sides. Fatigue makes balance worse, so recover first.
Mayo Clinic adds that if you have serious balance problems or a condition that affects your bones, joints or muscles, you should get your healthcare professional’s OK before doing balance exercises. We repeat that advice here. This article is education, not medical advice, so please consult a healthcare professional before you practise.
Stop and come down if you feel sharp pain, dizziness or a pinch in the knee, hip or lower back. Heat adds load, so drink water before class and take a break when you need one.
Learn to Teach Balancing Stick Pose at YogaFX in Bali
If you want to coach postures like this with confidence, the YogaFX Bali MasterClass is built for that. It is a 6-day hybrid course: online pre-course study first, then an in-person intensive in Seminyak, Bali. The next intensive runs from check-in on Sunday 24 January 2027 to check-out on Friday 29 January 2027.
Graduates earn the Yoga Alliance RYT 200-Hour credential and the Bikram Hot 26&2 200-Hour International Yoga Certification. More than 1,500 graduates from over 80 countries have trained with us since 2017. The full 26 and 2 yoga teacher training programme page shows how the course is built.
Trainees leave knowing the 26 postures and 2 breathing exercises, and also how to say one clear cue at the right moment. The balancing stick pose is a good example of why that matters.
Ready to ask a question? Message Mr. Ian and the YogaFX team on WhatsApp and we will reply personally.
FAQ
What are the variations of balancing stick pose?
The common variations keep the same line but shorten the lever. Lower the back leg, keep the chest a little higher, soften the standing knee slightly, or rest your fingertips near a wall. Each version trains the same base. Tell your teacher about any injury first so they can suggest the safest option.
How long should you hold balancing stick pose?
Hold it only as long as you can keep good form. Mayo Clinic says to hold a one-leg balance as long as form stays good, up to 30 seconds. In class, the teacher’s dialogue sets the timing for the posture. A shorter, well-formed hold is better than a longer one that shakes.
Which muscles does balancing stick pose work?
It works the standing leg, the hips and the back of both legs, and the arms and shoulders hold the reach. Research on single-leg stance notes that the hip abductors help support pelvic stability. Results differ from person to person, and this is education, not medical advice.
How do you teach balancing stick pose to a beginner?
Teach one beat at a time: root the standing foot, reach the arms, hinge from the hip, then kick the leg back. Give one short cue and wait to see the change. Offer a lower leg or a wall nearby, because the student cannot see the back leg to check it.
Can you learn to teach balancing stick pose in six days?
Our 6-day hybrid MasterClass includes online study and an in-person intensive in Seminyak, with daily practice of all 26 postures and 2 breathing exercises. Trainees coach each other in posture clinics and receive live feedback from Mr. Ian Terry. Teaching skill keeps growing after the course, so practise often.
Still have questions? Message Mr. Ian and the YogaFX team on WhatsApp to enrol or ask and we will answer them personally.